Kali Linux is the most popular Linux distribution for hackers and penetration testers. If you want to start your career as a hacker or penetration tester, we provide you with all the necessary information to get you started!
The beginning of being a hacker is knowing how to use Kali. For this reason, in this article, we will see how we can run Kali Linux and Windows 10 at the same time.
https://www.secnews.gr/102983/bing-becomes-the-best-search-engine-for-programmers/btn-large” variation=”btn-success”]Read more: Why is Bing becoming the best search engine for programmers?
You will need:
• A laptop / PC
• A Pendrive with a minimum storage space of 8 GB
• Windows 10 or any other version of Windows pre-installed
• Kali Linux v2.0 which you can find here
• PowerISO which you can find here
Step-1
First, you need to download the latest version of Kali Linux from the official website. You can choose the 32-bit or 64-bit version depending on your computer. It is better to download the file with a capacity of more than 3 GB, which includes some pre-installed tools.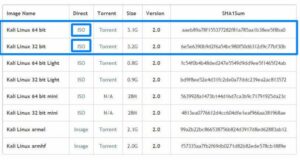
Step-2
After downloading Kali, we need to create a bootable USB drive by downloading PowerISO. The link is given above, you need to download and install it.
Step-3
Now, run the installed PowerISO as administrator.
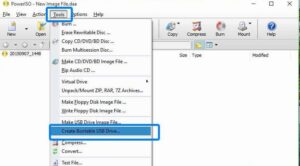
In PowerISO, go to “Tools → Create Bootable USB Drive”
Step-4
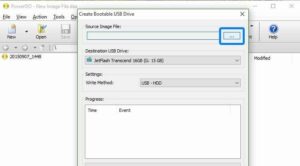
Now select “Source Image File” and choose the location of the kali file you downloaded.
Step-5
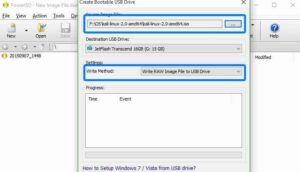
In the Destination USB Drive tab select your USB drive/ Pendrive. In Write Method select ” Write RAW Image File to USB Drive“ . Finally press the “Start” button below and wait until the process is complete.
Step-6
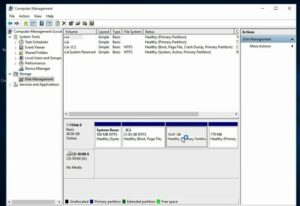
The next step is to create a separate partition for the Kali Linux installation. To do this, open the Windows Disk Management settings or simply type the command “diskmgmt.msc” in Run.
Create a new partition of about 15 – 25GB minimum. If you choose to use Kali frequently, then it is preferable to create a partition with more than 50 GB of storage space. We created a new partition of 17 GB to show you.
Step-7
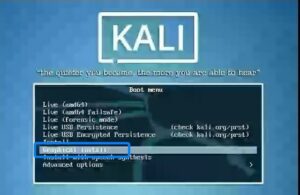
We are ready to proceed with all the initial procedures. Now restart your computer and enter the bios by pressing the F2 key or the Esc key depending on your computer model. Select “Boot as USB”. An image similar to the one below will appear, click on “Graphical install”.
Step-8
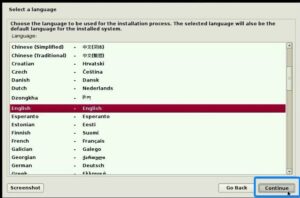
On the next page, select your preferred language.
Step-9
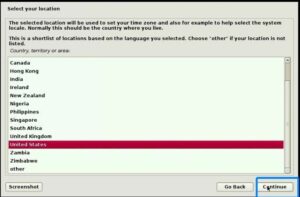
On this page, select your country and click to continue the installation process.
https://www.secnews.gr/102239/debian-linux/btn-large” variation=”btn-success”]Read more: Debian Linux: Understanding the Universal Operating System!
Step-10
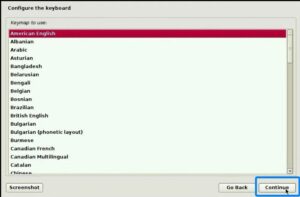
Now select your keyboard style. Select “American English” for a standard keyboard style.
Step-11
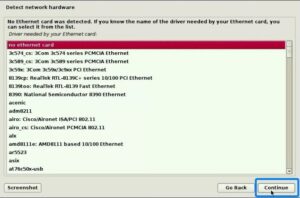
In this step you will need to set the IP settings. You can configure your network automatically or manually.
Step-12
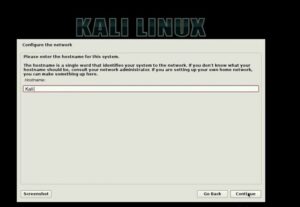
On this page you will be asked for a hostname. Set any name of your choice.
Step-13
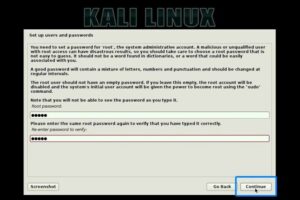
In this step you need to enter a password for “ROOT User”. After entering the Administrative account password click on “Continue”.
Step-14
Select “Manual” on the next page and click “Continue”.
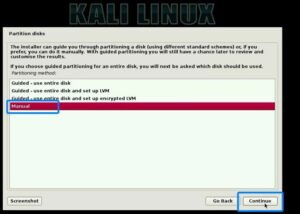
Step-15
This step should be done carefully. Select only the partition you created for the Kali installation and press the “Continue” button.
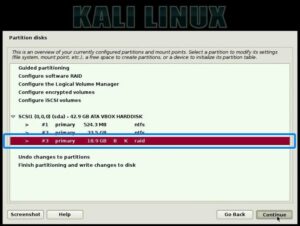
Step-16
Then, select the “Delete the partition” option and press “Continue”.
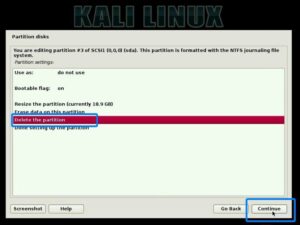
Step-17
Now you can see that the space we have allocated for the Kali installation is now called “FREE SPACE”. Select it and click “Continue”.
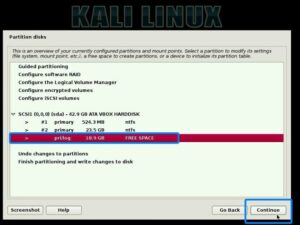
Step-18
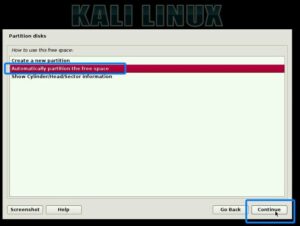
In this step we will be asked where to partition. Select “Automatically partition the free space” and “Continue”.
Step-19
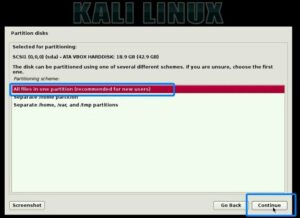
In this step you will be asked for the partition type once you select “All files in one partition” click on the “Continue” button
Step-20
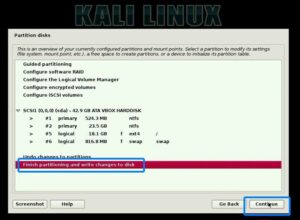
Finally, select the option “Finish Partitioning and Write Changes to Disk” and “Continue”.
Step-21
At this step it will ask for permission to write the changes to disk. Select “Yes” and “Continue”.
Kali is installing and this may take 10-15 minutes to complete.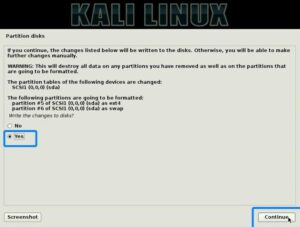
Step-22
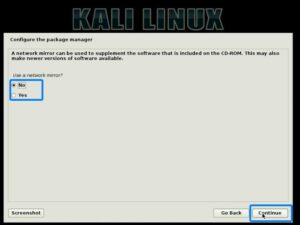
In the middle of the installation it will ask for network mirroring, select “Yes” or “No”. We recommend you select “No”.
Step-23
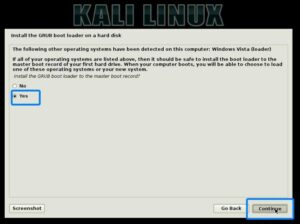
In the next step, it will ask for the installation of the GRUB boot loader, select “Yes” and “Continue”.
Step-24
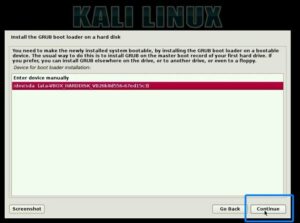
Next on this page you will need to choose where you want to install the boot loader. Select your hard drive, which is the second option.
Step-25
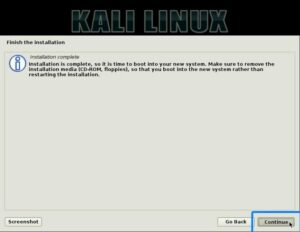
After the installation process is successfully completed, a page similar to the one shown below will appear. Click the “Continue” button.
Step-26
You have completed all the necessary installation steps!! Now simply restart your PC / Laptop and remove your USB drive.
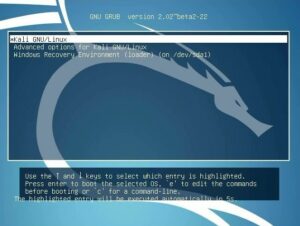
Upon booting, you can see the GRUB Loader of Kali Linux v2.0.
Here select “Kali GNU/Linux” to boot your PC/Laptop with the new Kali Linux
or else select “Windows Recovery Environment” to start Windows 10.
Congratulations, you are now successfully running Kali Linux and Windows at the same time!!!!
If you encounter any difficulties, leave your comments below.
https://www.secnews.gr/102163/free-pdf-password-remover-software/Read: Break PDF passwords with 4 Free Password Remover Software! 😉