Physically separating programs and data protects both and makes it easier to back up. So I strongly recommend that users put the code (Windows and programs) on one drive or partition and the data (documents, spreadsheets, music, photos, and more) on another.
This adds an extra layer of protection and makes backups easier. You can create an image backup of the bootable code partition - almost certainly the C: drive - two or three times a year. And then you can conventionally backup your data partition - let's call it drive X: - daily.

This is a good idea if you have a small SSD and a large hard drive. By using the SSD as C: and the hard drive as X: , your PC will gain a lot of speed without losing storage space.
First, once the storage units or partitions are up and running, create a folder called Libraries (or whatever you want to call it) on the currently empty X: drive.
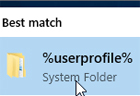
In the taskbar search box, type %userprofile% and select the %userprofile% system folder. This will open File Explorer at the C: location, where you will find your personal library folders.
Follow these instructions to move the Document Library :
1) Right-click on the Documents and select Properties.
2) In the dialog box that appears, click the Location tab and then the Move .
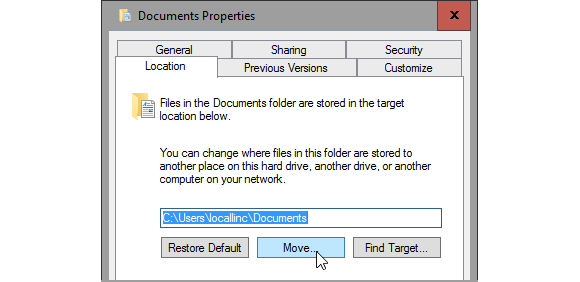
3) In the dialog box that appears, go to the Libraries folder on drive X: and create a new folder inside it called Documents.
4) Select -but do not open- the Documents folder and then click the Select Folder.
5) After clicking the OK button, click the Yes button to move your files.
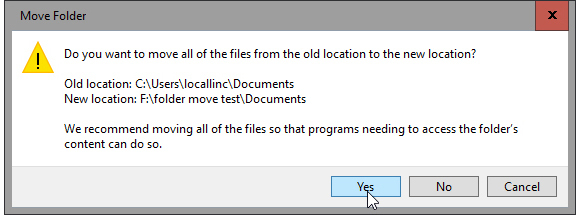
Then wait, the move may take a little time.
Repeat this process for the Music, Pictures and Videos folders.
If you store a lot in OneDrive, you might want to move those to X: as well.
1) Right-click the OneDrive icon in the notification area at the far right of the taskbar and select Settings.
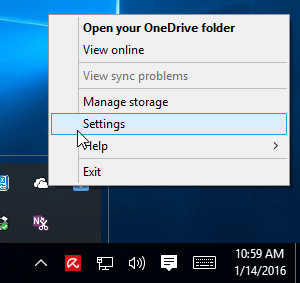
2) In the dialog box that appears, click the Unlink OneDrive. A “Welcome to OneDrive” window will appear, ignore it for now.
3) Move the OneDrive folder from the Home Path Folder to the Libraries folder on X:. The easiest way is to hold down the Shift key as you drag the folder to the new location.
4) Return to the “Welcome to OneDrive” window and sign in.
5) Once you are logged in, click the small Change location. Choose to move the OneDrive folder to X:. In the error message that appears, click the Use this location button..
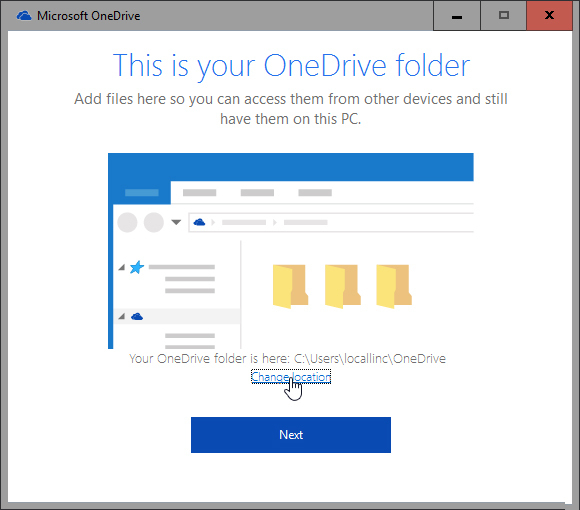
6) Complete the wizard.