

Microsoft has a tool to help you understand errors – the Microsoft Error Lookup Tool.
The Windows operating system can, unfortunately, be unreliable and regularly display errors. Although Microsoft releases updates in an attempt to address widespread difficulties, some errors are too difficult for a one-size-fits-all solution. Consequently, the most effective way to deal with such scenarios is to record the error code and search for it online.
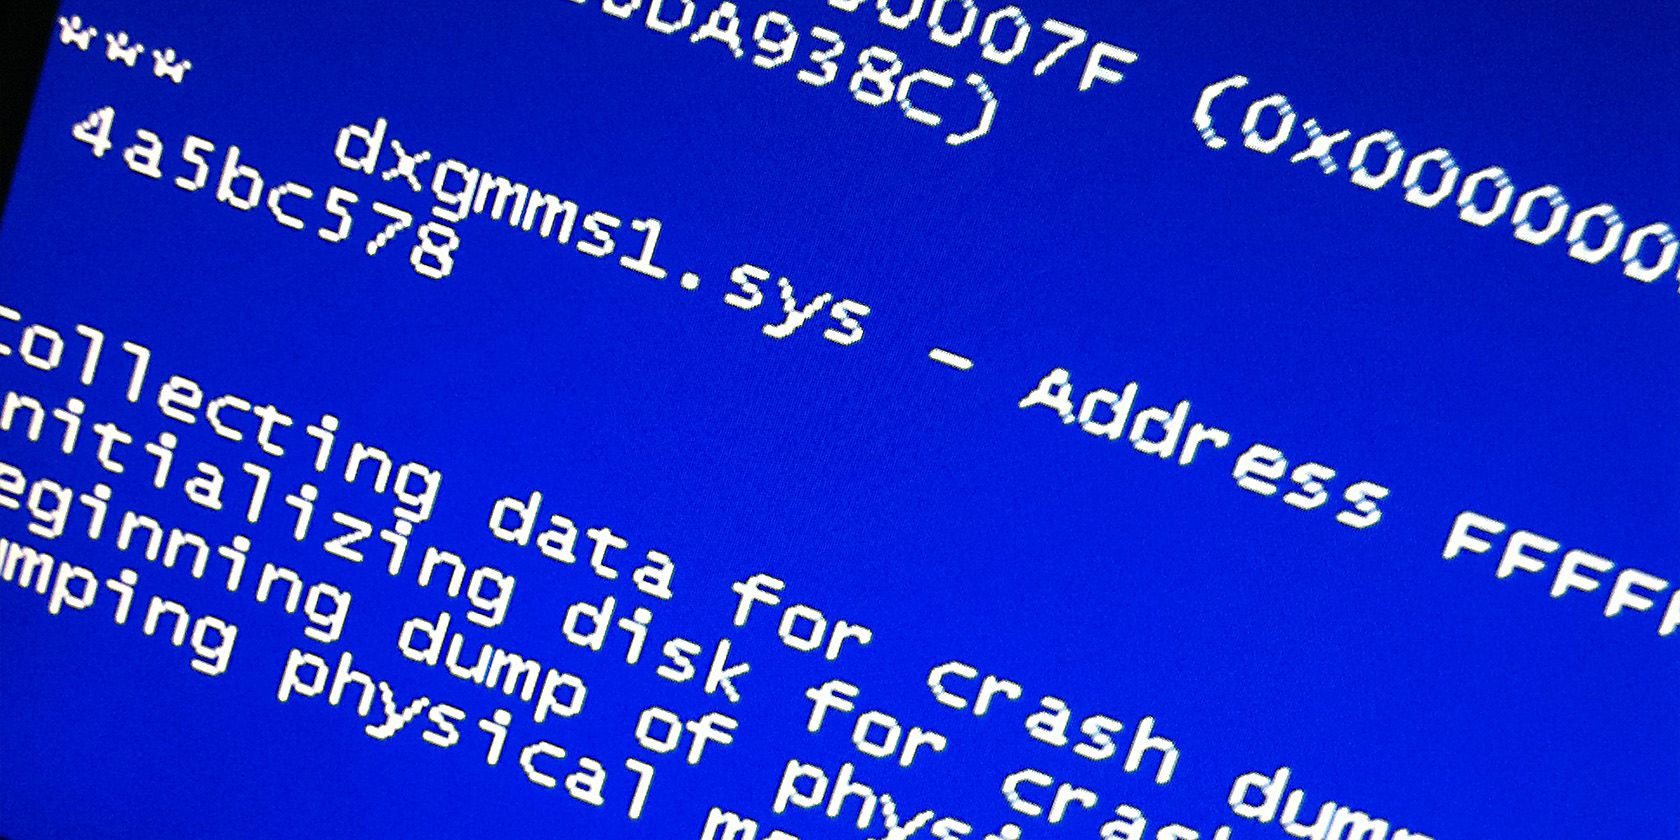
Have you heard of the powerful Windows 11 troubleshooter ? This amazing tool from Microsoft allows you to quickly investigate any error that appears on your computer. Let's discover how this useful feature works and learn why it is so essential for troubleshooting!
What is Microsoft Error Lookup Tool?
The Microsoft Error Lookup is an invaluable utility for finding the meaning behind system error codes, however it requires users to use the Command Prompt to use it. Unfortunately, there is no GUI of this program available yet, which would make searching much easier for the less tech-savvy people out there. With a simple click, you could be well on your way to fixing any problem with ease!
With a simple command, you can uncover the source of an error code and get more information. Unfortunately, Microsoft 's error search tool is only compatible with versions 8.1 or later for the Windows operating system . If your device is running Windows 7 , then you will need to search the internet in order to get the desired information quickly and efficiently.
Read also: Russia – Ukraine: Microsoft warns of new Sandworm attacks
How to download and run the Microsoft Error Lookup Tool?
Microsoft Error Lookup Tool is a handy and lightweight command line tool that doesn't take up much of your system resources. Here are the steps to download and run it on your computer:

1. Download and rename the tool
Repeat the following steps to download and install the Microsoft Error Lookup tool:
- Launch a browser on your system and visit the Microsoft Error Lookup Tool.
- Scroll down and click the Download. It will take a few seconds for the download to complete.
- Press Win + E to launch File Explorer and navigate to the download location of the Microsoft Error Lookup Tool.
- Since this is a cmd, you will need to run it by typing its full name. The default download name is Err_6.4.5, which will be difficult for you to remember and type correctly every time in the command line. So, we will rename it to something easier like Err.
- Right-click the Microsoft Error Lookup and select Show more options.
- Then click Rename from the context menu. Type Err and press enter to rename the tool.
2. Placing the tool in a more easily manageable location
To use the Microsoft Error Lookup Tool, you need to open it from the command line. However, if it is located deep in the folder hierarchy, then you need to move it to an easily accessible place before running it. Also, remember that every time you want to access the tool in the future, you will have to navigate through several levels of directories and folders again until you reach its new location.
Listen to how you will do it:
- Press Win + E to open File Explorer and navigate to the download location of Microsoft Error Lookup Tool. Now, press Ctrl + C to copy the file.
- Go to drive C and paste the tool. Grant permissions to place the tool on drive C.
- Now, press Win + R to launch the Run command box. Type cmd in the text box and press enter.
- In the command prompt window, type the following command and press enter: cd C:\.
- Now, you will be in the parent directory. Type Err and press the enter.
- Don't close the Microsoft – it's running and displaying a custom format that helps you search for error codes, as well as providing access to various other parameters.

How to check Error Codes using Microsoft Error Lookup Tool?
See also: Microsoft Patch Tuesday March 2023: Fixes over 80 vulnerabilities
Congratulations! You have successfully installed the Microsoft, which allows you to easily access information about specific error codes. Here are instructions to get started:
- In the same Command Prompt window , you need to type [tool name] [error code] and press the enter key .
- Let's say you want to search for error code 0x80070490 using the tool. So, the correct command would be: Err 0x80070490.
- Press enter and the tool will display all the relevant information it has about the error code. It will include the exact error string and a sentence describing its meaning. Often, it will also try to make suggestions for fixing the error.
- An error code can have multiple meanings, and the error lookup tool will list them all. You can use this information to narrow down your search and try to fix the problem.
How to Export the Output of Microsoft Error Code Tool?
With this tool, you can get a plethora of results for an error code and it can be difficult to navigate the Command Prompt. To make your life easier, we can export these search results to a text file located on your system.

Repeat the following steps:
- Press Win + S and type CMD. Click Run as administrator.
- Now, type the following command to navigate to the location of the error lookup tool: cd C:\
- The syntax for copying the results of an error code search is: Err [error code] > [Text file path].
- So, your final command will become: Err 0x80070490 > D:\error.txt.
- It will output the results to a text file named error on drive D.If the file does not exist, the tool will create it with the same name. However, it will not display any search results on the command line and will only display the number of matches found.
- Now, open the file and you can read the entire list of error code results and start troubleshooting.
In 2019, Microsoft brought its tool to its current version. Unfortunately, it hasn’t been updated since then. This can mean that if you’re using newer hardware or a new version of Windows, the tool may not be able to read certain error codes. Fortunately, though, this is an extremely rare occurrence—plus, its repository only contains information about Windows and Microsoft —so don’t expect it to show details about third-party apps and programs!
Don't worry, you can use Microsoft 's error lookup tool without any stress and wait for their new version with peace of mind. You can search for the newest version by visiting their official download page or try third-party tools like Winerr and Error Lookup Tool to get a more diverse error code lookup experience with added troubleshooting benefits.
The Microsoft Error Lookup Tool is a free and easy-to-use tool that you can access on your system. While it won't necessarily provide you with a detailed troubleshooting guide, it will allow you to identify the problems and the string errors associated with them – as well as get potential suggestions from the tool, if available!
Source: makeuseof.com
