Videography is such an easy and simple practice these days, and we are all constantly tempted to load our computers and smartphones with videos from our summer vacations, our cat chasing bugs, our baby dancing and singing like Shakira, and many other small everyday moments. Obviously, we want to keep all the videos we have taken, to watch them again whenever we want, to edit them, to share them, – that's why we took them! However, it would be wise not to throw them haphazardly on our computer desktop, but to organize wisely and carefully so that we can retrieve them at any time.

Following the steps below will help us in our effort to organize them effectively, just like the professionals do:
1. Start organizing videos your
In order to organize your videos, it’s important to understand exactly how many copies of the videos you’re likely to keep. First, there’s the raw videos you’ve captured. They typically remain on your device until you transfer them to a computer or other storage.
Second, when you import your videos into video editing software, you should make sure you select [or adjust the settings] to create a copy of the raw file. Creating a copy at this point ensures that the original files remain intact as the original file you may want to save.
2. Delete – and immediately! – videos from your smartphone
If you usually shoot videos using your smartphone, transfer them to your computer and then delete them from your phone. Video files take up a lot of space, so it's better to have them on a computer with much more storage than on a mobile device. After all, they're safer there: if you lose your phone and you haven't kept copies of those videos, they're gone forever.
You can use a program like SugarSync [www.sugarsync.com]: it is a mobile application, which has an automatic backup feature not only for photos but also for videos. The application can automatically save all your videos directly to your SugarSync account, and then synchronize them with your computers.
If you are a Dropbox user, all you need to do is download the free Carousel [for Android and iOS] to your mobile device, which will transfer your image and video files to the cloud, which you can then delete from your smartphone or tablet. As long as you have enough available cloud storage space, of course.
3. Rename your files
The best – and smartest – way to name your files is to use the YYMMDD[Year, Month, Day] method, so that they are filed chronologically. An example of how this method works: videos from the family vacation this Easter would start with “150402”: “14” for the year 2014, “04” for the month April, and “02” for the day.
We would probably add additional keywords for easier searching, resulting in the following file name: 150402_PasxaTrip. Alternatively, 150402_PasxaTrip could be the name of the folder in which all related videos will be stored, so you could name the files even more specifically, such as 150402_Pasxa_souvlisma and 150402_Pasxa_anastasi.
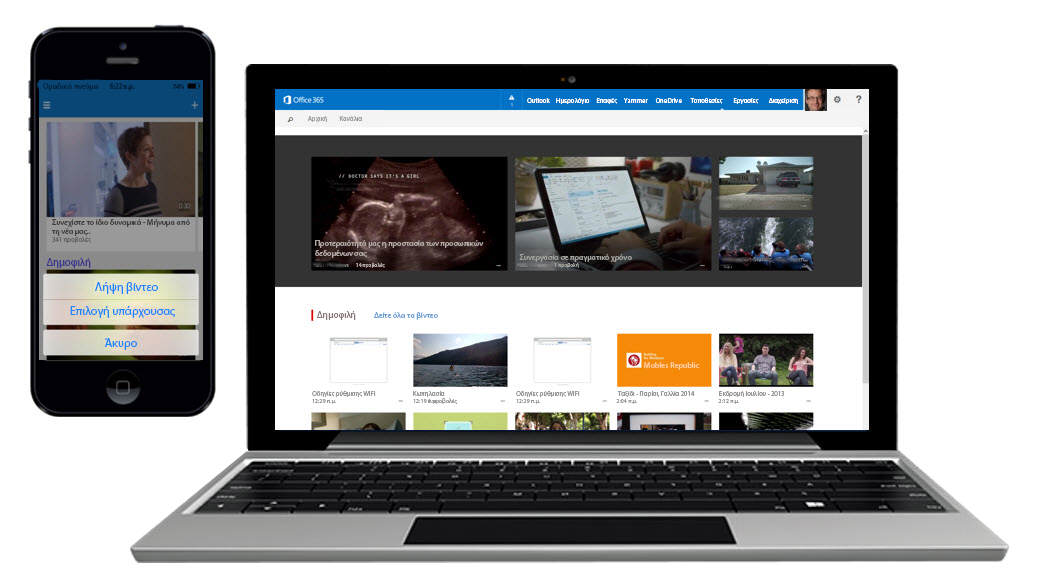
If you don’t shoot a lot of videos in a given month, you can choose the four-digit YYMM [Year, Month] method. This system is surprisingly convenient and effective if you remember your videos according to information about the period in which they were shot. Even if it’s an event, you probably remember that your sister’s graduation was in May 2011 [“1105”] and that the footage from Christmas 2009 is included in one of the videos that starts with “0912”.
But what if you remember your files based on some other information than the date of the event? The most important thing is to choose a system that is convenient for you, that you can easily remember. Make sure that the system you choose will result in unique file names, so that you don't find yourself overwriting files by mistake.
4. Use folders and add tags and keywords
Take the time to organize your files into folders. If you have a lot of footage, you probably won’t rename each one individually, but instead put them into folders with broader categories. We suggest naming these folders something like “1996_video” and “1997_video.”
Adding tags to your videos is a great help, especially when you have a lot of footage and are frequently editing different videos. Adding tags or notes is a key component, especially when it comes to personal videos that are kept as a legacy. Add these tags at the same time you save your videos, while the footage is still fresh in your mind. This is much more efficient than watching the videos later to remember what they contain and add the relevant tags.
5. Archive and store your finished videos elsewhere
When you’re done editing your videos, you’ll typically export the final file. If you upload it to Facebook, YouTube, or any other site, that copy can be considered one of your backups—you should always have backups. But if you upload some videos to YouTube and store others in your personal Dropbox account, your video files will be everywhere.

A better method is to always export your final videos locally when you're done editing them, assuming you regularly back up your computer, so those files will be safe. However, video files take up a lot of space, so eventually you'll need to move them to an external hard drive, a cloud storage service, or another location of your choice.
If you choose multiple cloud services, try partitioning them, for example using Dropbox for work-related videos and Google for home videos. This way you'll remember where to find your files.
6. Keep a separate file
Do you consider yourself a semi-professional creator? Start keeping a separate file of everything you film. You don’t need a powerful database. Even a simple spreadsheet that records the date of filming, the subject, the environment and any other details will definitely help find all your files efficiently.
In three steps
To recap, organizing your non-professional videos comes down to three steps: first, gather your video files [i.e. remove them from your smartphone and camcorder], second, name them smartly and add tags so you know what they contain, and third, back up and archive your final edited files.
Tools you will need: Google Chrome, Windows Explorer, iTunes or other file explorer, Carousel