

If you need to take a screenshot on your Mac, but you don't have a keyboard or just prefer to use the mouse, here's what you should do.
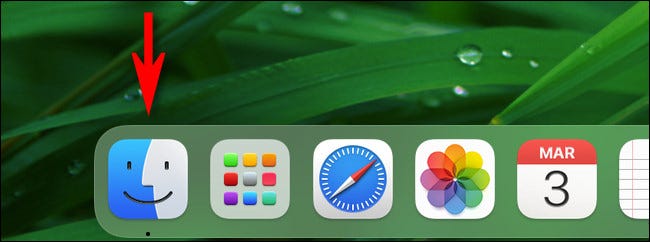
If you want to take a screenshot on your Mac without using your keyboard, you'll first need to focus on the Finder by clicking its icon in the Dock.
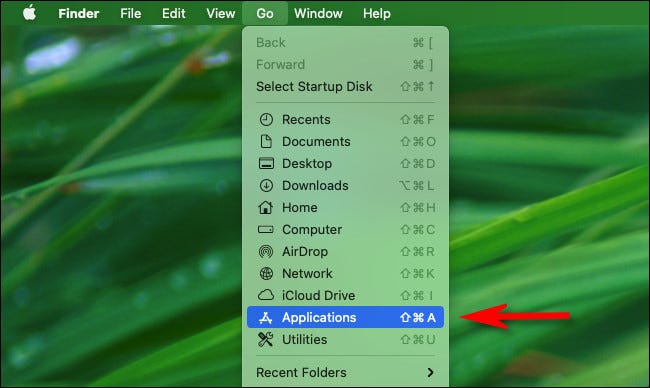
In the Finder menu bar at the top of the screen, click “Go,” then select “Applications” from the list.
See also: How to delete the hidden download log on your Mac
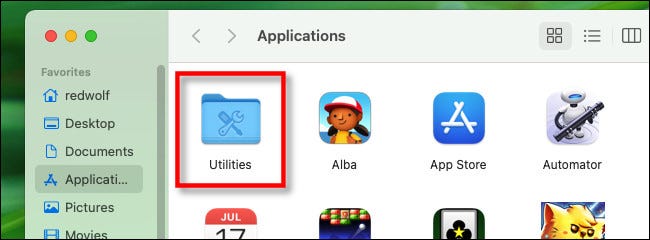
When the “Applications” folder opens, double-click the “Utilities” folder.
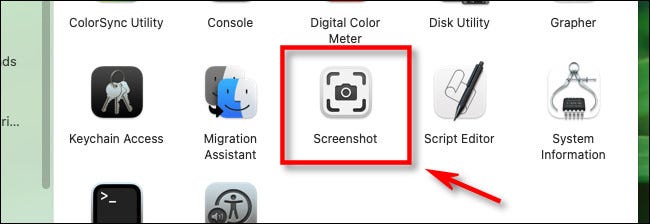
In the “Utilities” folder, double-click the “Screenshot” application icon to open it.
When the Screenshot app opens, you’ll see a small toolbar appear near the bottom of the screen. Using this toolbar, you can configure the Screenshot app to take a picture of the entire screen, the selected window, or a selected portion of the screen. You can also click the “Options” menu and set a timer, among other settings. You can change any of these settings using your mouse – no keyboard required.
See also: Mac: How to take a screenshot with the mouse cursor visible
Once you have your settings set the way you want, click the “Capture” button.
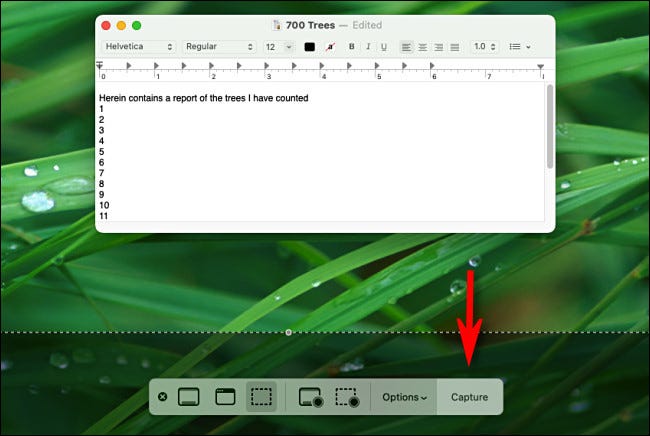
A screenshot will be saved to the desired location (the default save location is the desktop.). After you take the screenshot, the toolbar will disappear, so if you want to take another shot, you will need to open the Screenshot app again.
See also: How to find the Photos library on your Mac?
Another way to take a screenshot without a keyboard
You can also take a screenshot using the Preview app. Simply launch the app using the Finder “Go” > “Applications” method or using Launchpad. When Preview opens, click the “File” menu and select “Take Screenshot.” And the process ends there!
Information source: howtogeek.com
