

Windows Server 2019 as a desktop! Microsoft has versions of the Windows operating system for computers and for servers. At first glance, Windows 10 and Windows Server 2019 are similar, but each of the two operating systems has different uses and of course different features.
Windows 10 excels in improvements for everyday use, while Windows Server can manage multiple computers, files, and services in parallel.
If you want to read the full list of changes in the two operating systems, see our older post Windows Server and Windows: What are the differences?
It should be mentioned that using a Windows Server for your daily activities is not common, and to some it will even seem excessive.
However, if you manage to configure it, Microsoft's server operating system is much more secure than Windows 10. In addition, the operating system's updates are much more stable than those of Windows 10, because Microsoft does not dare to experiment (test) with versions aimed at businesses and Servers.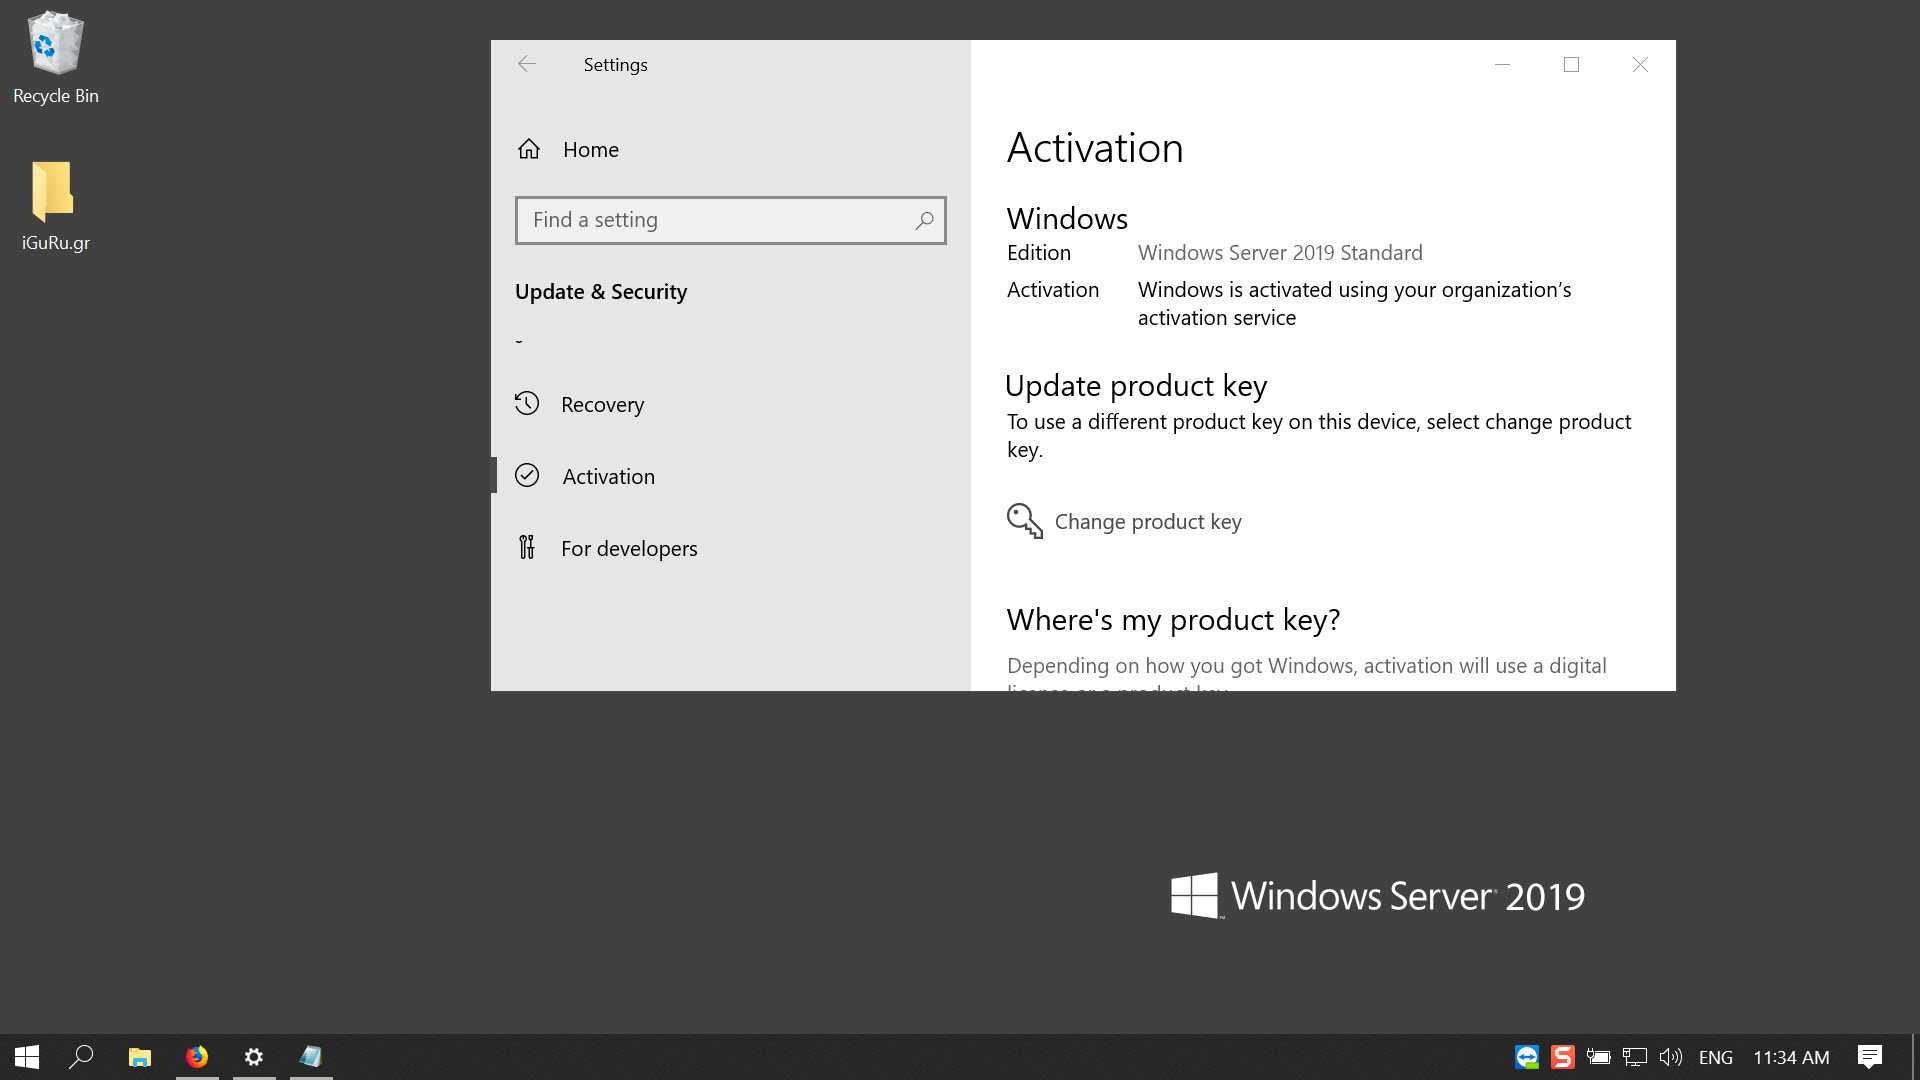
Let's see what you will find in front of you after installing the Server:
To see the familiar Windows login screen, you must press the three keys together: ctrl+alt+delete.
The password must contain uppercase/lowercase letters, numbers, be longer than 5 characters, and expire after approximately two months and must be changed.
Wifi is disabled by default.
The Server's browser is only Internet Explorer, configured so "tightly" that it doesn't even allow browsing, let alone downloading.
Once you connect to the Server, the Server Manager opens automatically, and will open every time you connect if you do not configure it.
______________________
So let's see how we change all of the above to create a Server that we can use for our daily needs.
Enabling Wifi
Logically, immediately after you connect to Windows Server, Server Manager will automatically open.
Open the Add Roles and features option, and follow the steps you see in the images below, clicking next.


Next

Next without selecting anything other than what is already selected

Next and select Wireless LAN Service

Let the installation proceed. You will then be prompted to restart to complete the addition of the new feature. After the restart, you will need to enable the Service
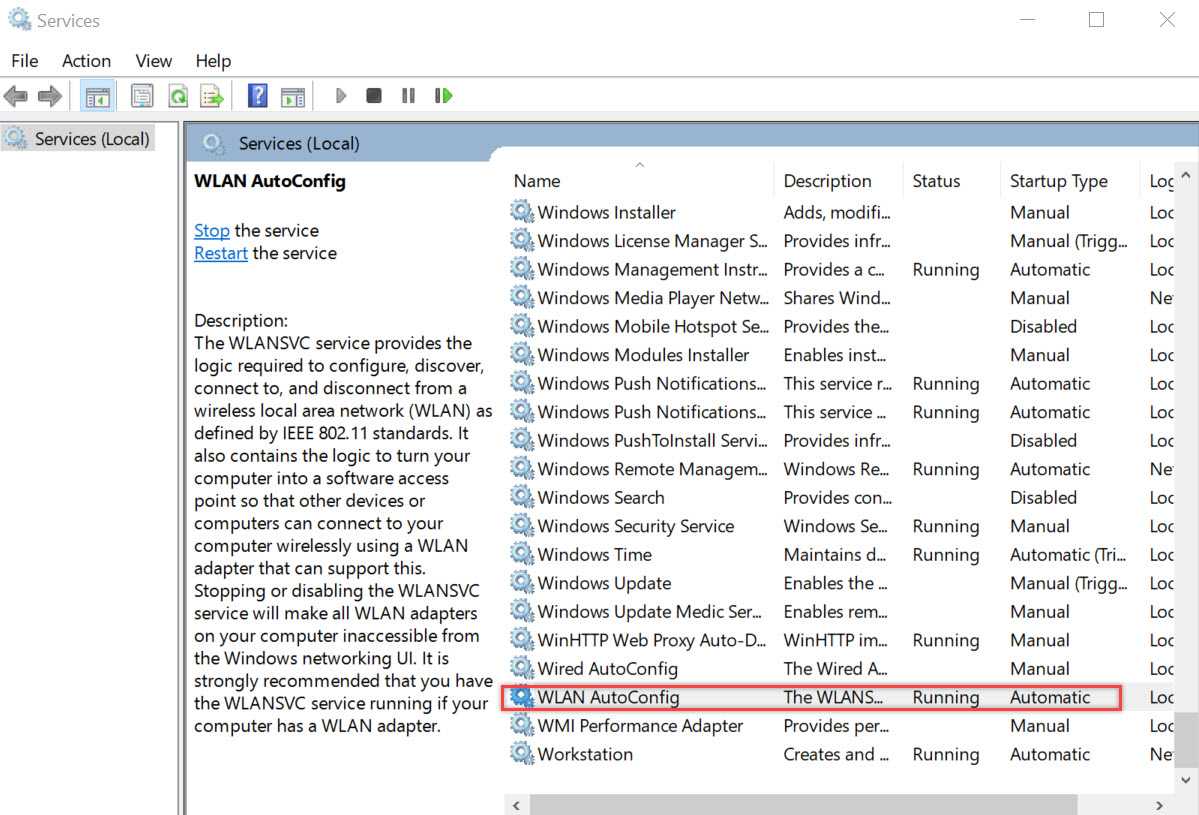 If you still don't see any Wifi connections, reset your network from the settings. Don't worry, it will be done automatically but it will require a reboot.
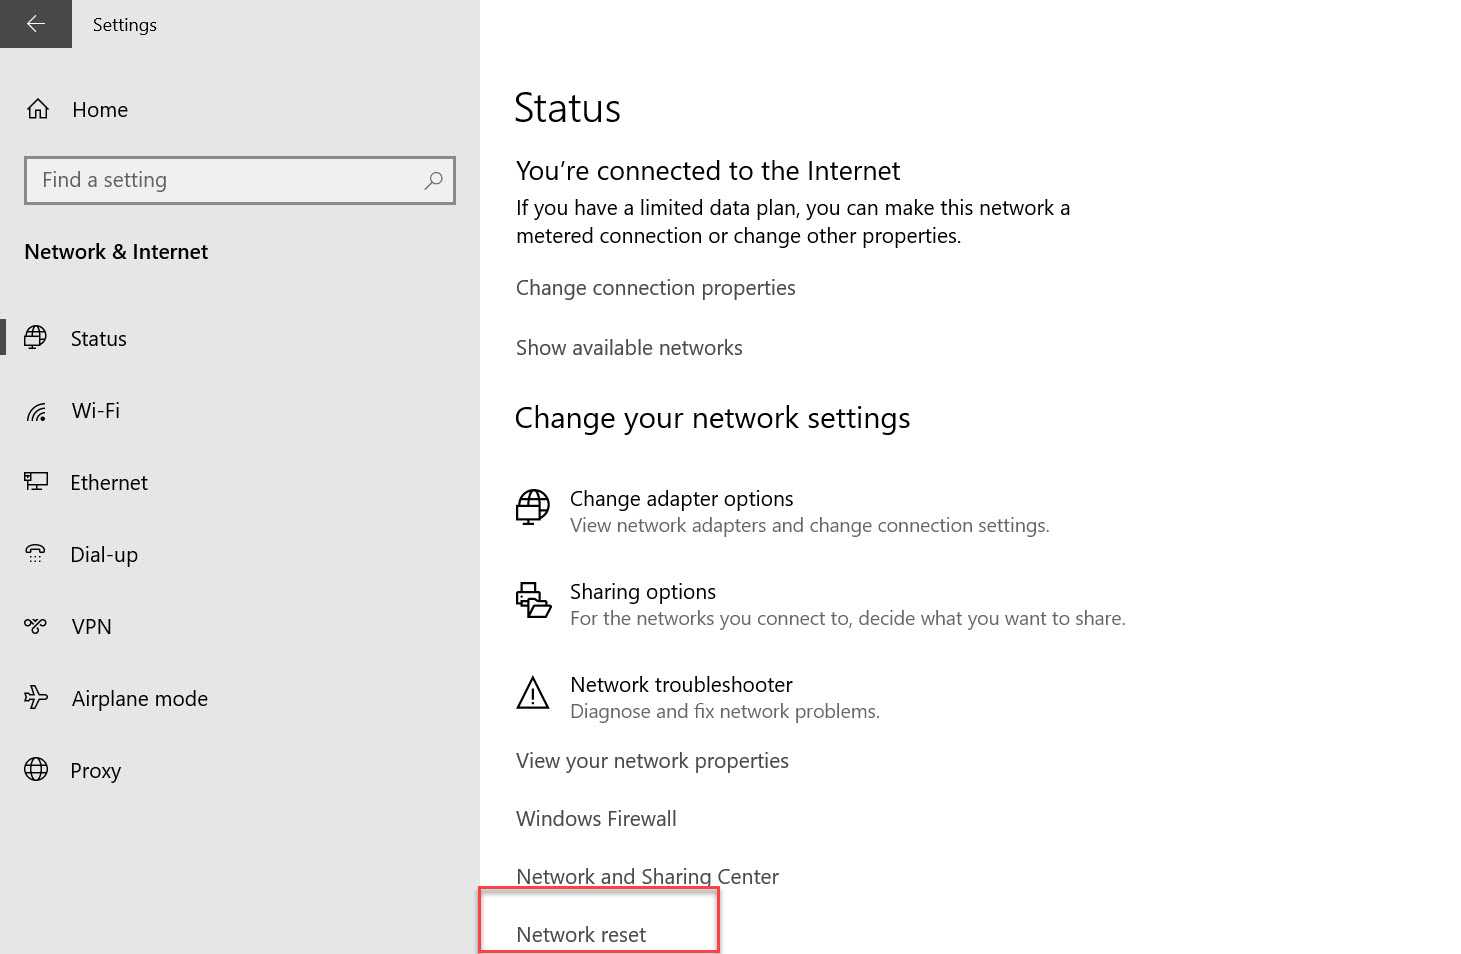
Removing ctrl+alt+delete from the login screen and changing the password policy
Press the [icon name=”windows” class=”” unprefixed_class=””] + R keys together to open Run. Type secpol.msc and press Enter to open the Local Security Policy Editor.
From here we will change the Server password policy, and remove ctrl+alt+delete from the login screen.
Let's look at the codes first

From the Account Policies – Password Policy path, change the Maximum password age and Password must meet complexity requirements values (by double-clicking) to 999 and Disabled respectively. Save the changes, do not close the Local Security Policy Editor.
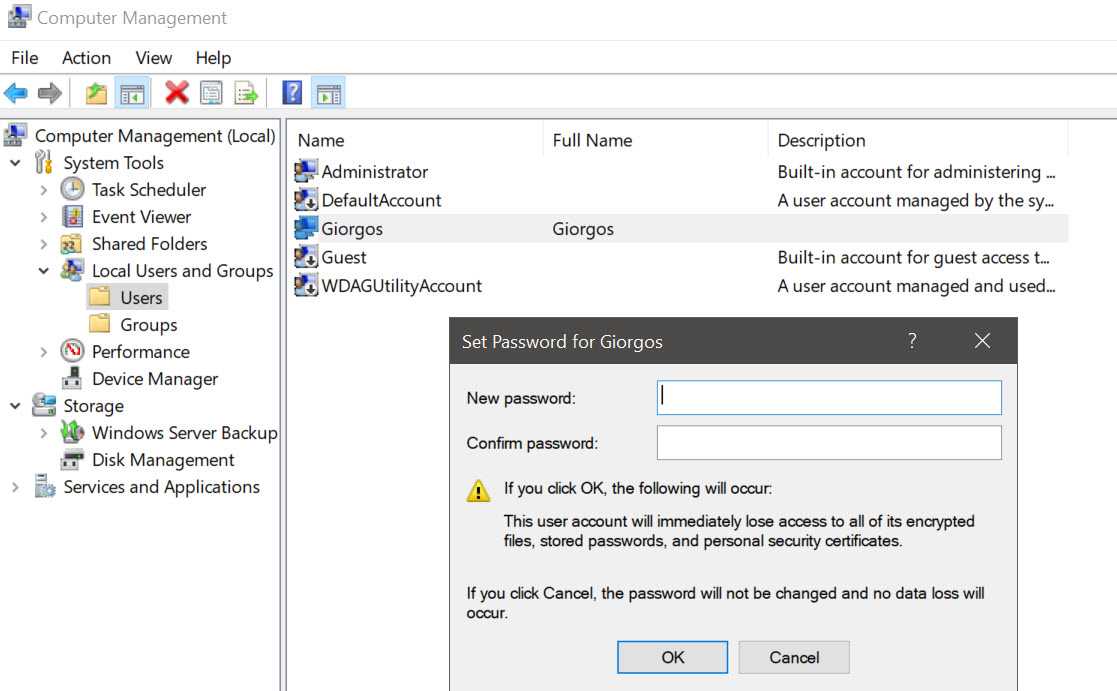
To change your users' passwords now, follow the path: Control Panel – All Control Panel Items – Administrative Tools. Open Computer Management and on the left you will see Local Users and Groups.
Select the user you want to change the password for, right click, change password. You will see the following image:
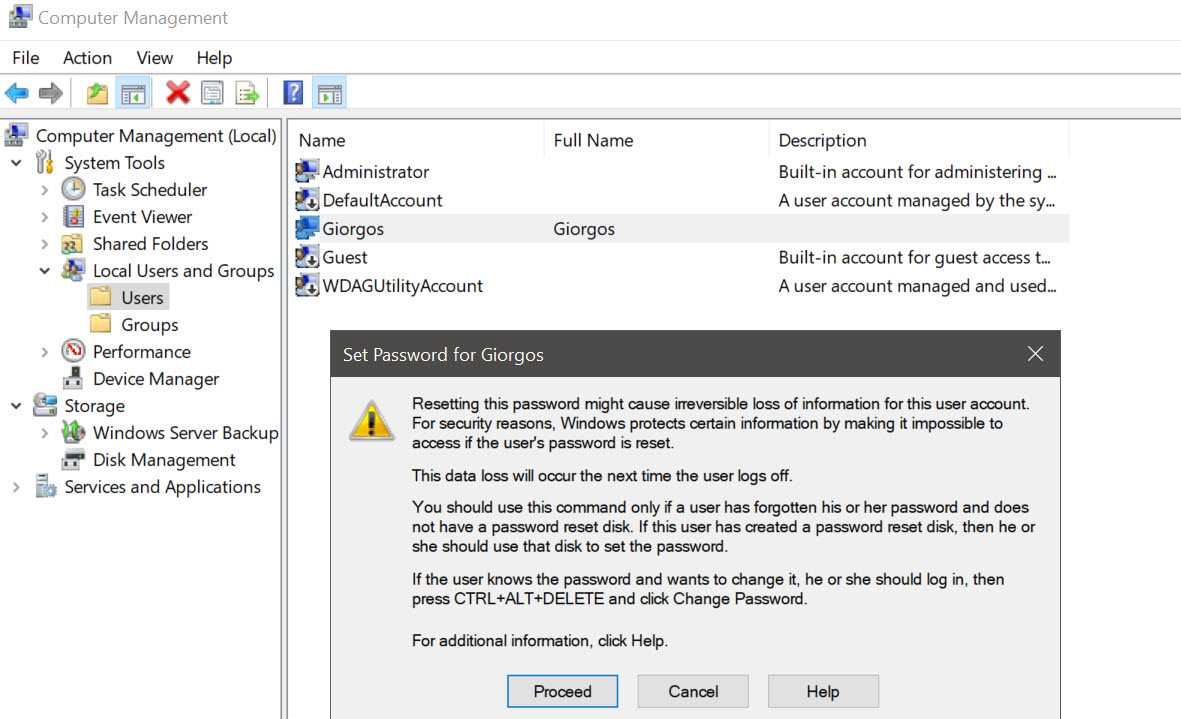 Click on Proceed and change the password
ctrl+alt+delete
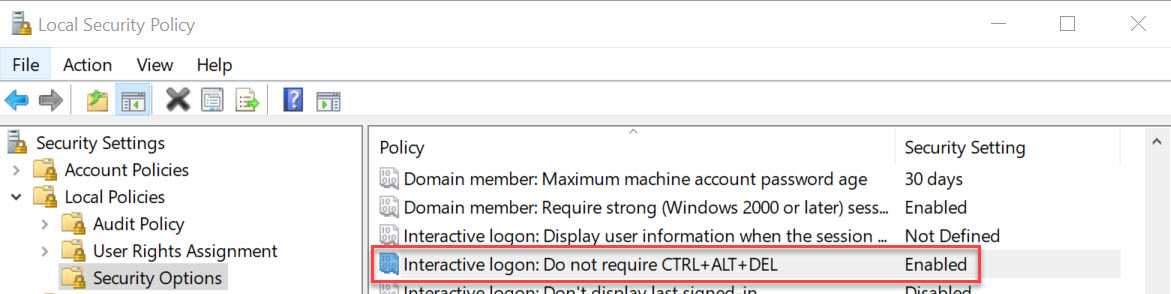
Follow the path shown in the image above (Local Policies – Security Options) and change the value in Interactive logon: Do not require CTRL+ALT+DEL to Enable.
Save the changes and you're done.
Configuring Server Manager to not start automatically
Open Server Manager and follow the path: Manage – Server Manager Properties.

Tick Do not start Server Manager automatically at logon, press OK and you're done.

We are left with Internet Explorer. Open the Server browser. We will only open it once to download Firefox. (Surprisingly, when I tried to install Google Chrome, Microsoft's antivirus wouldn't let me. To complete the installation, I had to disable Real Time Protection.
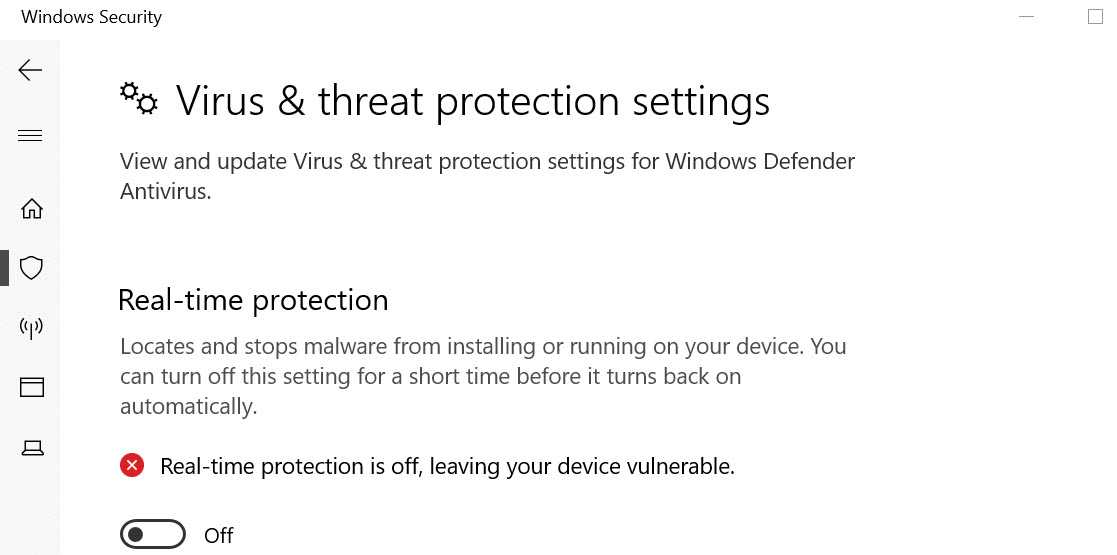
But with Firefox, the company doesn't seem to have a problem.
Open Internet Explorer. Right click next to the first tab and activate the Menu bar.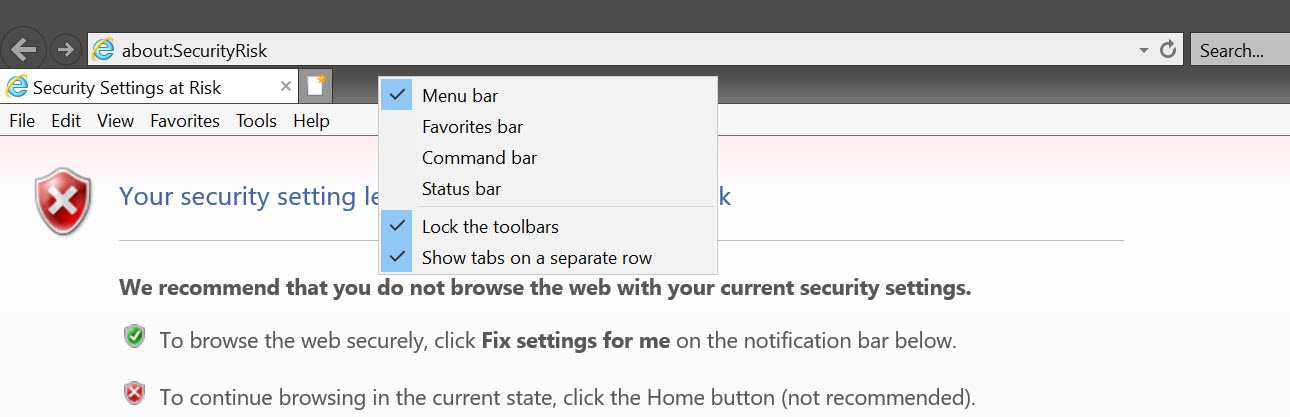 From the menu select tools and Internet Options

In the window that opens, select Internet – Custom level and a settings window will open. Select all Active X to Enable and allow downloads. 
In case you experience problems during your connection as you will see in the image below, select Add to add the website to IE's safe sites and untick Continue to prompt when content is blocked. 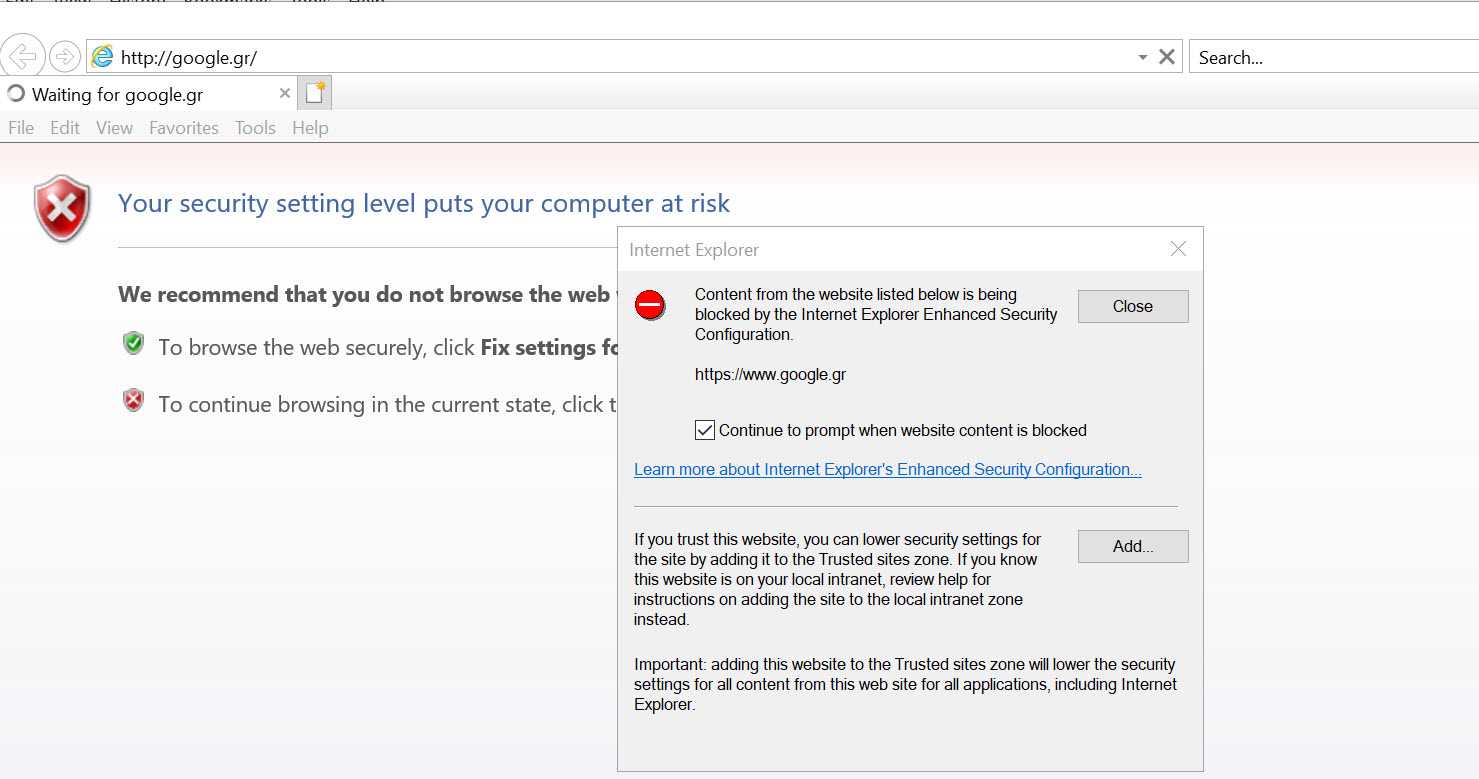 After that and with a little patience you can download Firefox and start browsing.
It should be mentioned that Windows Server 2019 can run all Windows 10 programs, so you can start by installing what interests you.
