

Apple 's iMessage profile is a feature that lets you control the name and photo that appear in an iMessage conversation. But how do you create your own iMessage profile on iPhone and iPad?
If you're using iOS 13, iPadOS 13 , and later, you can create your own profile in iMessage. This lets you use a photo, Memoji, Animoji, and more as your display picture. You can also completely control who can see your name and photo. You can only allow contacts to see this information, so that unwanted users can't access it. You can also share this information in a conversation.
- To create your own custom profile in iMessage, you open the “Settings” on your iPhone or iPad, then go to the “Messages”.
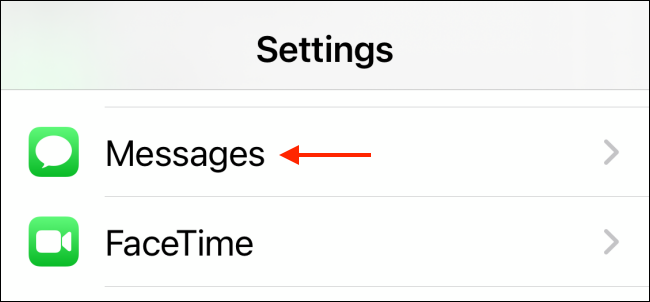
- Tap “Messages” from Settings and then tap the “Share name and photo”.
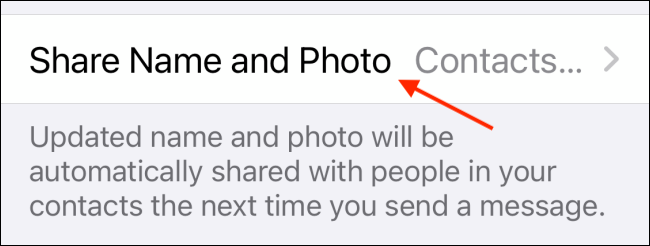
- Next, you will see the iMessage profile settings screen. Click the “Select name and photo”.
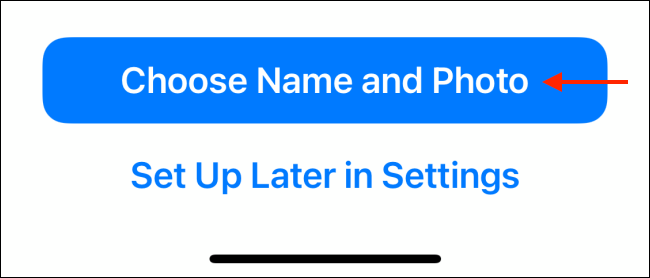
- You'll see a few options for setting your iMessage profile picture. If you already have a display picture for your iCloud profile or a Memoji, you'll see those options here. To create a new picture, tap the three-dot Menu button.
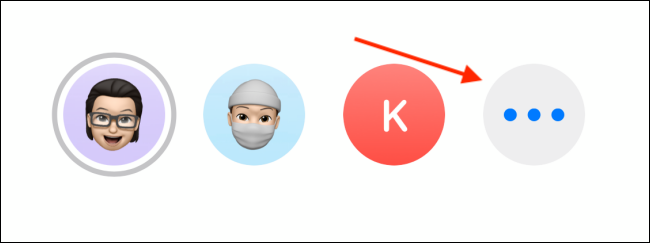
- Here you'll see every option available for creating a profile picture. This method is similar to the process for creating a group photo for an iMessage conversation. You can choose a photo from your library, use an emoji, text, Memoji, and Animoji.
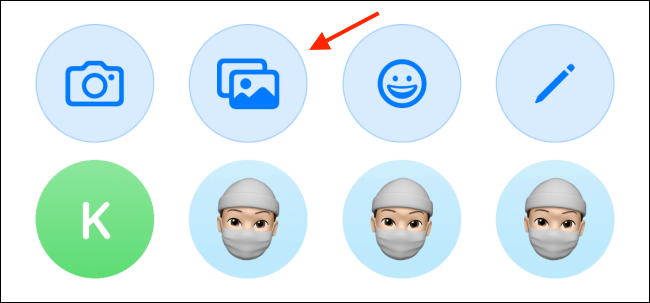
- To set a photo as your display image, tap the “Photos”. Here, you can browse and search for a photo you want to use. Tap a photo to select it.
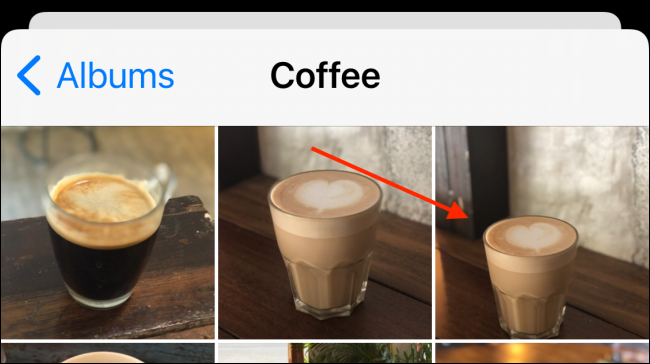
- From the next screen, you can move the photo to fit the circle. Press the “Select”.

- You can apply a filter to the photo if you want. After selecting a photo, press the “Done” to continue.

- Now, you will see the selected photo in the preview at the top of the screen. Press the “Done” to save the photo.
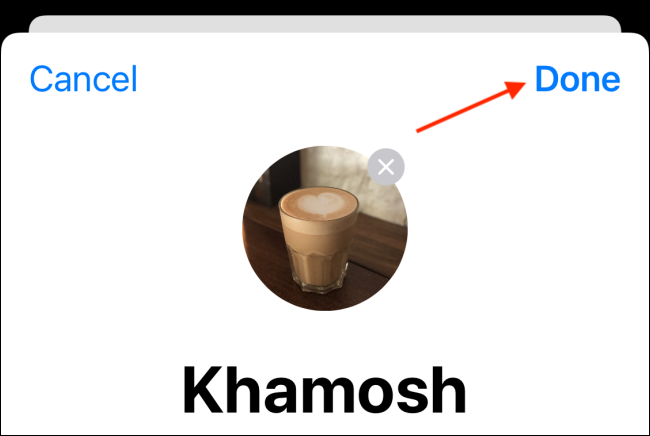
- Select the “Continue” button .
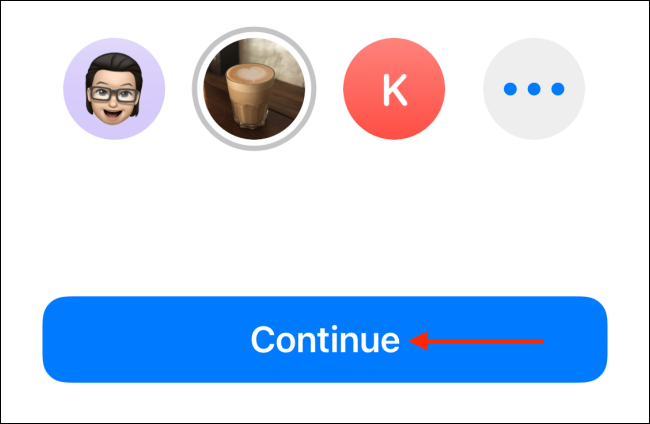
- From the pop-up message, select “Use” if you want to use the photo for your Apple ID .
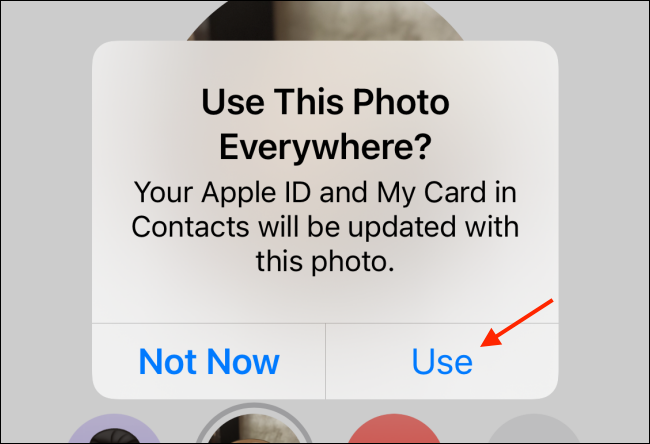
- Click “Use” to use the photo everywhere
- Next, you need to set your name and photo sharing options. From the top of the page, enter your first and last name.

- In the “Auto Share” section , you can choose to “Contacts Only” or “Always Ask Me . ” “Contacts Only” automatically shares your updated name and photo with people in your contacts. “Always Ask Me” requires iMessages to ask you if you want to share your name and photo with the person you’re chatting with. You choose an option and tap the “Done” button .
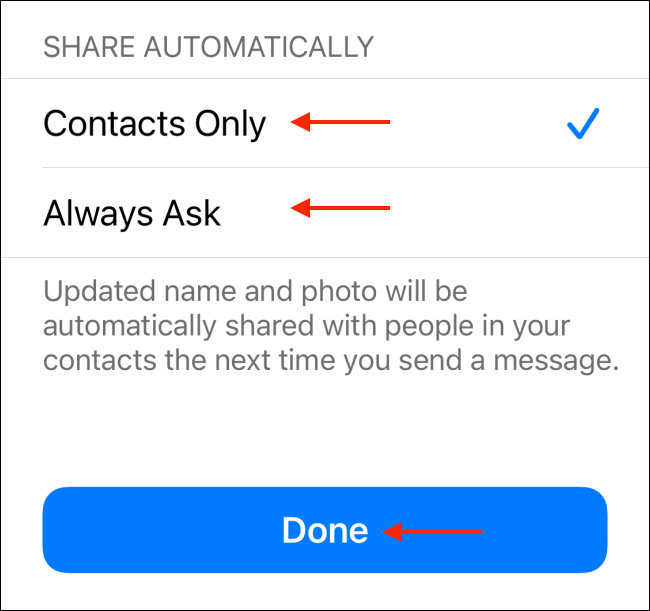
- Select “Sharing Settings” for the iMessage profile and your iMessage profile is ready.
- If you set the “Always ask me” option , you’ll see a banner at the top of every iMessage conversation asking if you want to share your name and photo.
- Click the “Share” button if you want to share your profile. Click the “X” button to close if you want to keep your information private.
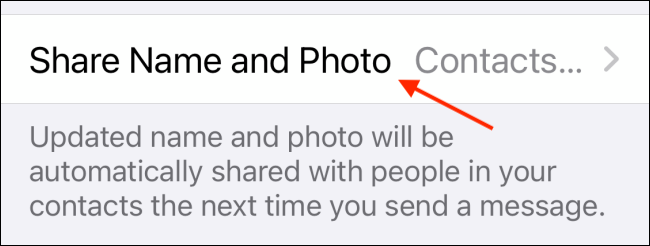
- Finally, tap “Share” to share photos and name in iMessage.
Photo Source: howtogeek.com
📧
Subscribe to the SecNews Newsletter
