

Internal hard drive: The average user's need for more storage space is constantly increasing. Whether we are talking about personal data (texts, photos, etc.) or files downloaded from the internet (movies, songs, etc.) or even the programs they use or the games they play.
So, after we have chosen which hard drive meets our needs and have proceeded to purchase it, we will initially need to place it inside our computer.
In the case of a desktop computer, it is enough to place the hard drive inside the computer case. New cases now have specially designed spaces that accept extra drives and a few screws are enough to ensure proper installation.
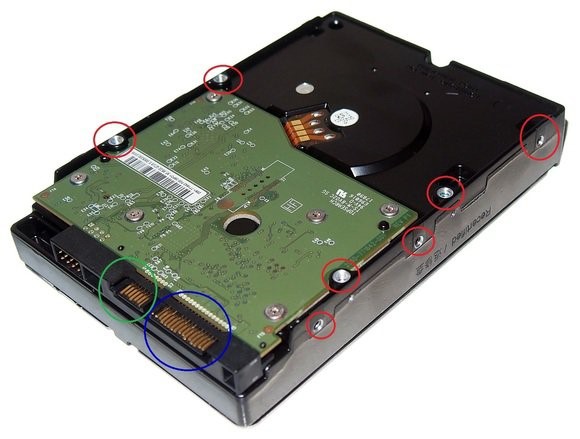
In case the disc does not fit in the box, we will need some additional material (bracket) that will help us insert the disc correctly.
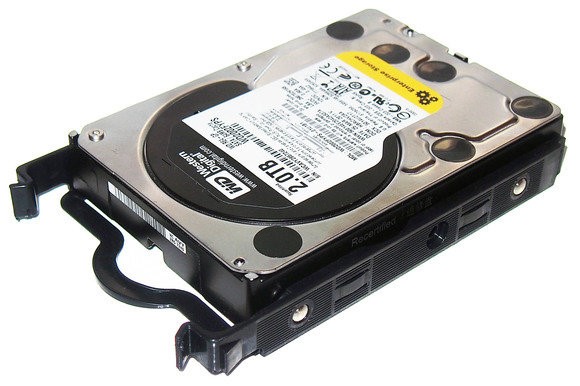
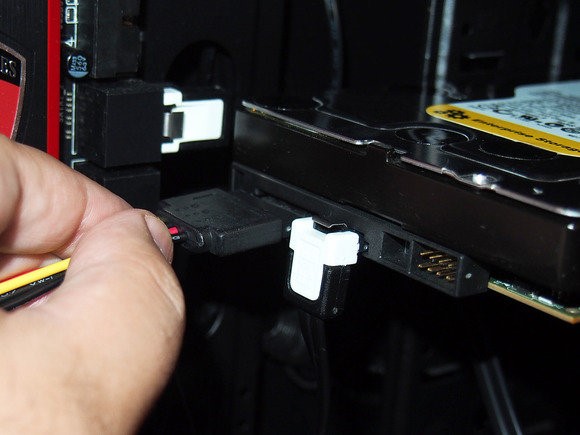
The connection is simple. A sata cable which is responsible for data transfer and a cable for power. The sata cable connects one end to the hard drive and the other to the motherboard. We take the power cable from the power supply.
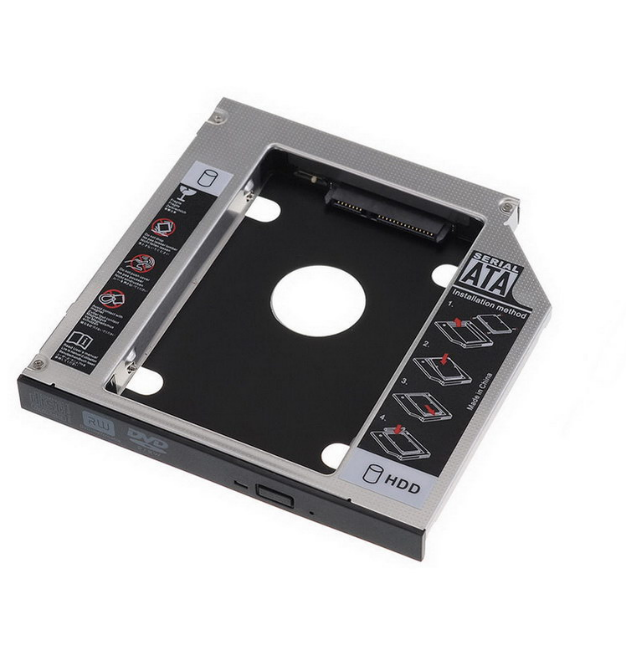
If we want to put a hard drive in a laptop, then the process is a little different.
If our laptop does not have extra space for a second disk, then we will have to replace the laptop's optical media (CD-DVD) with a special case that incorporates the disk.
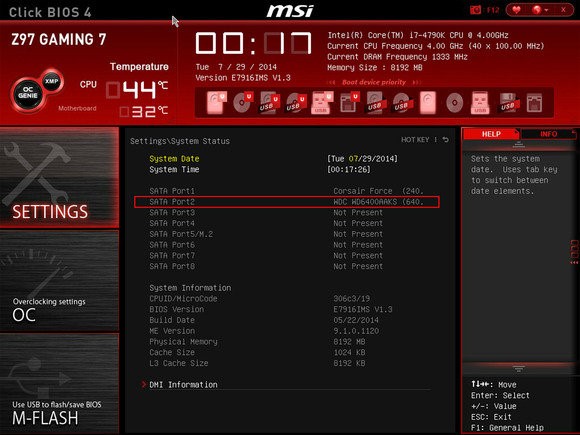
The first thing we do after the disk has been properly installed on our machine is to check in the BIOS if the disk is "visible".
Then, once we have entered Windows, we go to disk management (right click on My Computer -> Manage -> Disk management) where we can now see our new disk.
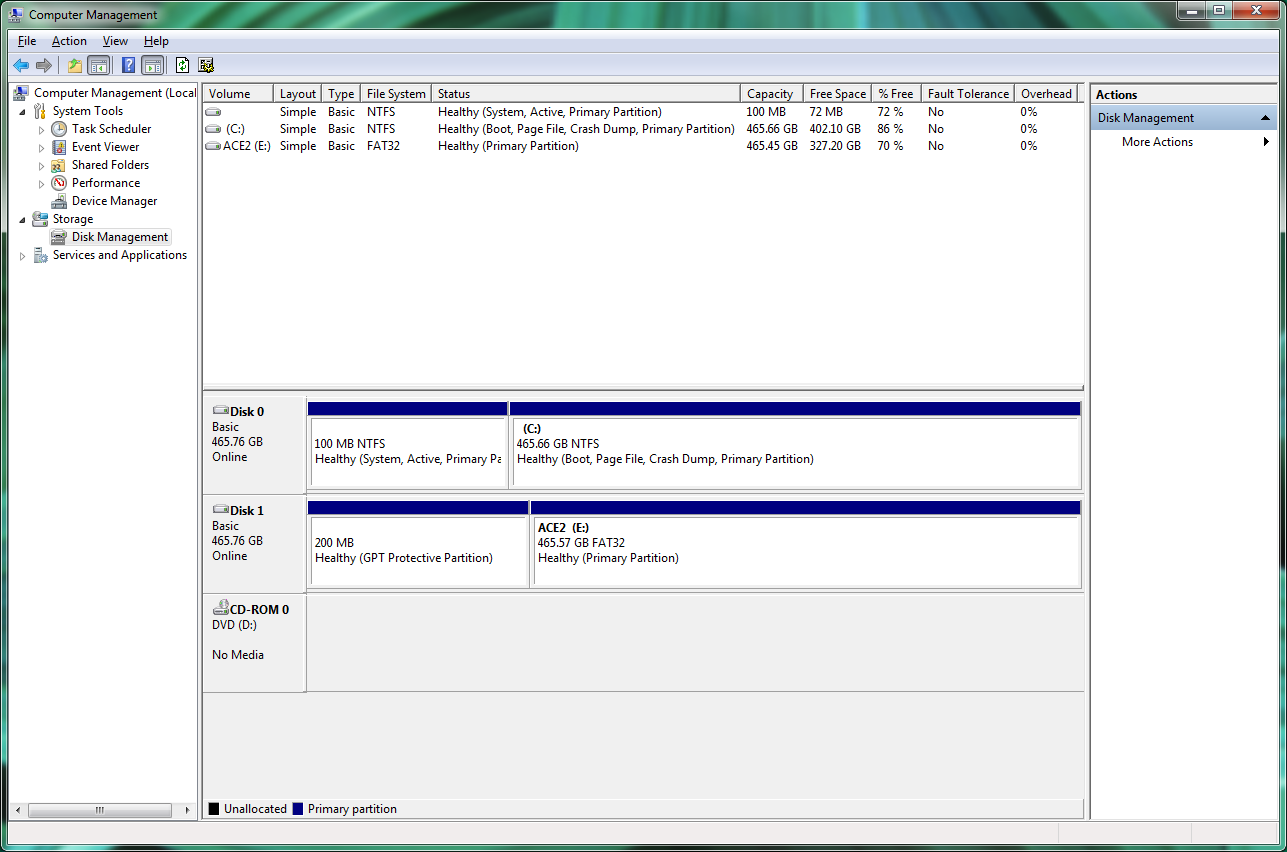
If it is black, we will need to format it (GPT, MBR), assign it a partition (size) and a letter (A, B, C, etc.) so that we can see it in My Computer and start using it.
