

CDA files are audio files that require a CD to play. On the other hand, MP3 files can be played on almost all platforms. The following guide will show you all the necessary steps you can take to convert CDA files to MP3. You can use iTunes on Windows and Mac or Windows Media player to get the desired result.
First way using iTunes
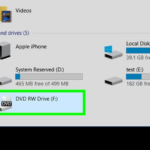
1 – Insert the CD you want to convert to MP3 into your computer. Make sure the CD logo is on top.
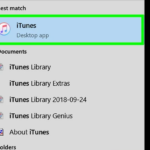
2- Open the iTunes service. Its logo is a colorful note on a white background.
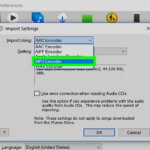
3 – Enable MP3 conversion. This action allows iTunes to convert the music files on the CD to MP3. To enable it, follow these steps:
- Click Edit (Windows) or iTunes (Mac).
- Click on Preferences.
- Next click on Import Settings..
- Click on Import Using..
- Click on MP3 Encoder.
- Click OK.
- Finally, click OK to return to the page.
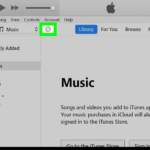
4 – Click the CD icon.
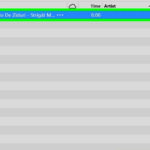
5 – Select the music files you want.
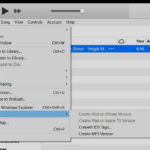
6 – Click File.
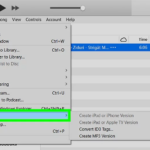
7 – Select Convert.
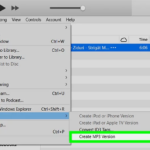
8 – Click on Create MP3 Version.
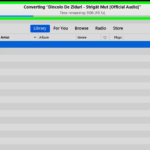
9 – Wait for the conversion to complete.
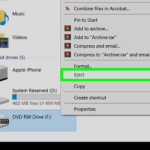
10 – Remove the CD.
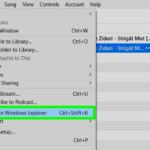
11 – View the files on your PC. All MP3 files will be saved in a folder on PC . To find the save folder follow these steps:
- Select a music file.
- Click File in the upper left corner of iTunes.
- Click Show in Windows Explorer (Windows) or Show in Finder (Mac) to open the source folder.
Second way using Windows Media Player
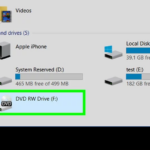
1 – Insert the CD you want to convert to MP3 into your computer. Make sure the CD logo is on top.

2 – Open the start menu.
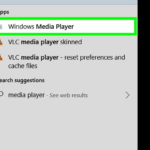
3 – Open Windows Media Player. Type windows media player in the start menu and select it after it appears at the top of the window.
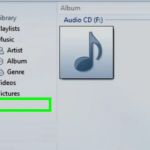
4 – Select your CD.
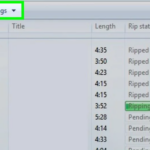
5 – Click on Rip Settings. You will find it in a tab at the top of the window.
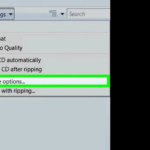
6 – Click on More options.
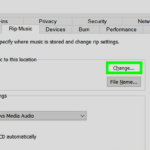
7 – Change the storage location. To change the location where MP3 audio files are stored, follow these steps:
- Click on Change..
- Select a folder.
- Click OK.
- Click Apply and then OK.
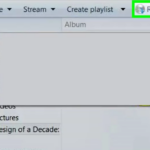
8 – Click on Rip CD.
9 – Wait for the conversion to complete.
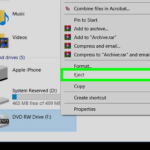
10 – Remove the CD.
11 – Display the MP3 files. Your files will be in their default location inside a folder with the name of the CD album, which in turn is in a folder with the name of the artist.
Images: www.wikihow.com
